London Night Photography: Capture the Magic After Dark
London transforms after sunset into a wonderland for photographers. Discover the best locations, practical tips, and insider secrets to capturing mesmerizing night shots.
Continue Reading...Want to nail those dazzling London night pictures without spending hours on editing? You’re in the right place. Below you’ll find straightforward gear advice, simple camera tweaks, and spot‑specific tricks that work right now. Grab your camera, follow these steps, and start snapping the city’s lights like a pro.
The first thing you need is a camera that can handle high ISO without turning everything grainy. Most modern mirrorless bodies and recent DSLRs fit the bill. If you’re on a budget, a used model with a good sensor will do fine. Pair it with a fast lens—something with a maximum aperture of f/1.8 or wider. Prime lenses like a 35mm f/1.4 are cheap in terms of light, letting you keep shutter speeds up and blur down.
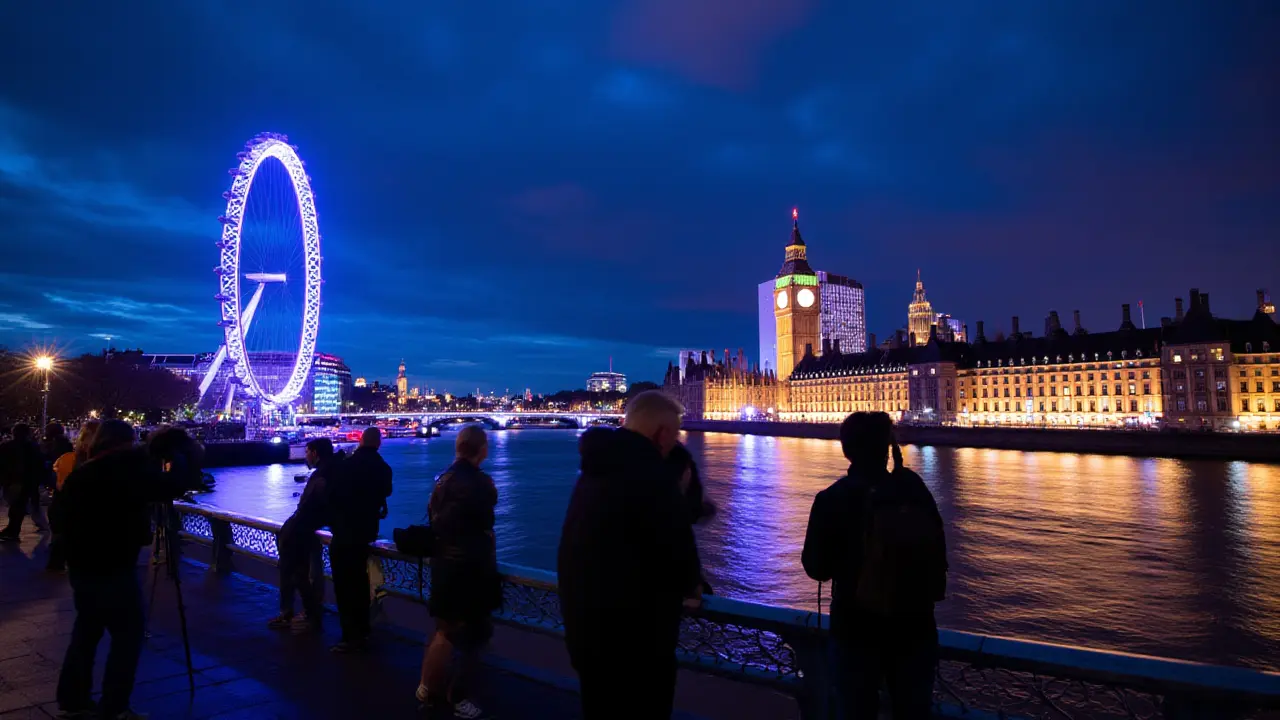
A sturdy tripod is a game‑changer. Even a compact travel tripod can hold the camera steady for long exposures on the Thames or at the London Eye. If a tripod feels clunky, try a monopod or a sturdy wall to brace against. And don’t forget a remote shutter release or the camera’s built‑in timer to avoid shake when you press the button.
Start with ISO 800‑1600. That range gives enough brightness while keeping noise manageable on most recent sensors. If you see too much grain, lower the ISO and let the tripod handle the extra exposure time. Set your aperture to the lowest number your lens allows—this lets more light in and creates a nice shallow depth of field for subjects like streetlights or neon signs.
Shutter speed is the next piece. For static scenes like the skyline, try 5‑10 seconds. For moving subjects—people, traffic—aim for 1‑2 seconds and use motion blur intentionally for a dynamic feel. Use the camera’s live view to preview the exposure; adjust until you see detail in both shadows and highlights.
Focus can be tricky in the dark. Switch to manual focus and use the camera’s focus magnification to fine‑tune. Alternatively, pick a bright spot (a lit sign) and let the autofocus lock onto it, then recompose. Don’t forget to enable the “long exposure noise reduction” setting if your camera has it; it will clean up the final image.
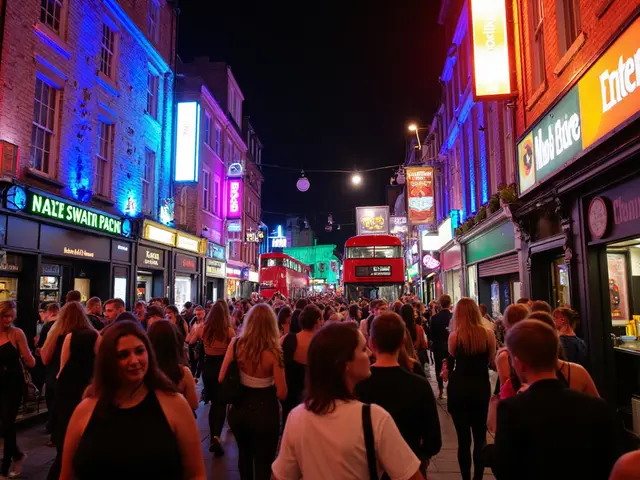
Now pick a location. London offers endless night backdrops: the Southbank under the bridge, the illuminated streets of Soho, the historic arches of St. Paul’s. Arrive early, walk around, and scout for interesting light sources. Look for reflections on the water, coloured neon, or the warm glow of street lamps. Position yourself where the light adds depth rather than flattening the scene.When you’re ready, take a test shot, check the histogram, and adjust if needed. If the shadows are clipping, raise the exposure a half stop. If the highlights are blown, pull back a stop. Small tweaks make a big difference, and you’ll avoid the frustration of over‑ or under‑exposed images later.
Finally, have fun with it. Night photography is about mood as much as technical precision. Experiment with light trails from cars, silhouettes of pedestrians, and the occasional burst of fireworks. The more you play, the better you’ll learn what works for your style and the city’s vibe.
London transforms after sunset into a wonderland for photographers. Discover the best locations, practical tips, and insider secrets to capturing mesmerizing night shots.
Continue Reading...